購入
アマゾンで「iCESugar FPGA 開発ボード オープンソース RISC-V ICE40UP5k アイスブレーカー Fomu (FPGAおよびPMOD-Switch)」を購入しました.
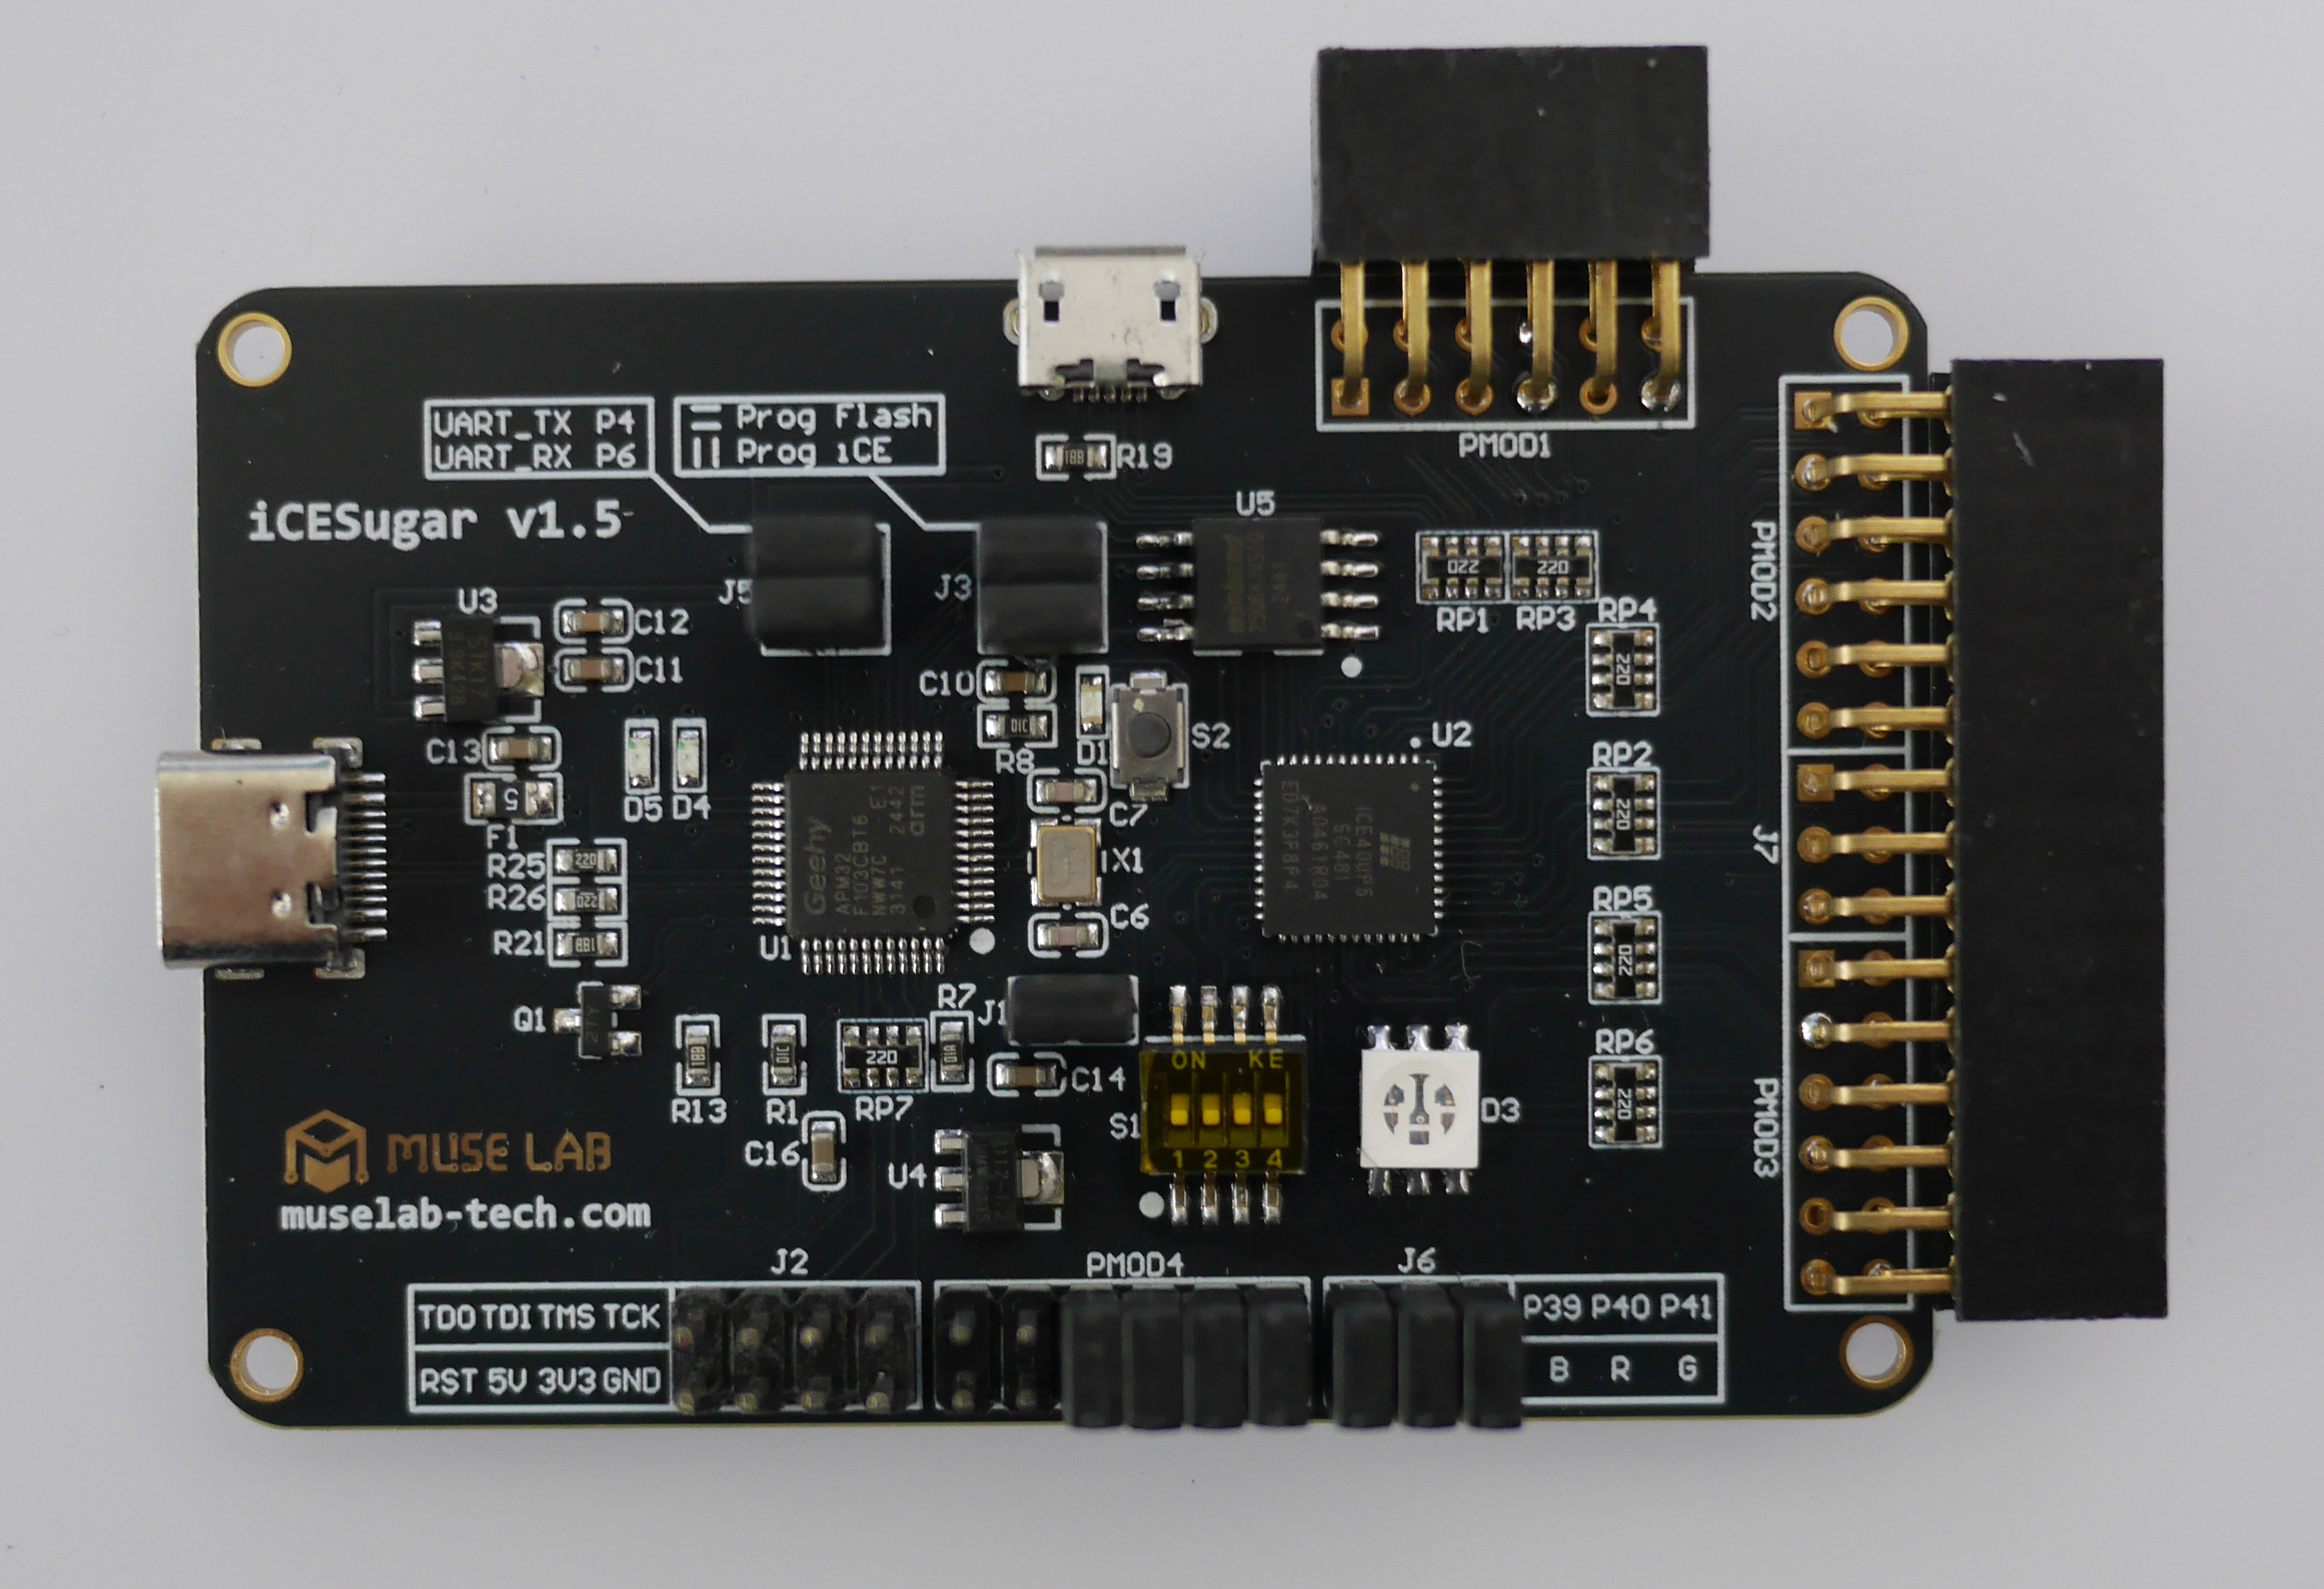
図1: iCESugar FPGA 開発ボード
設定
ソフトウェアー
インストール
「OSS CAD Suite GitHub」で検索することにより,開発ツールのダウンロードサイトを調べることができます.GitHub の YosysHQ/oss-cad-suite-build のページに移動します.そして,Installation の the releases page をクリックします.そして,Windows 64bit 用の oss-cad-suite-windows-x64-YYYYMMDD.exe をダウンロードします.2025年12月13日は「oss-cad-suite-windows-x64-20251213.exe」です.インストール手順は,以下のとおりです.
- ファイルをダブルクリックし,インストーラーを実行します.すると,ダイアログ「Windows によって PC が保護されました」が表示されます.「詳細情報」をクリックし,[実行」をクリックします.
- すると,フォルダー: oss-cad-suite が作成されます.
- そのフォルダーにあるバッチファイル: start.bat をダブルクリックすると,コンソールが現れます.
- コンソールが確認が出来れば,インストールは終わりです.
- フォルダー: oss-cad-suite の移動は,可能です.私は「c:\Tools\oss-cad-suite\」としました.
- そして,スタートに表示させるために,start.bat のショートカットを作成し,パス「C:\Users\ユーザー名\AppData\Roaming\Microsoft\Windows\Start Menu\Programs」にショートカットを移動します.ショートカット名は「OSS CAD Suite Shell」としました.
確認
コンソールを開き,三つのコマンド「yosys -V」「nextpnr-ice40 --version」「iceprog --help」を確認します.以下のようになれば,インストールは正常です.
[OSS CAD Suite] C:\Tools\oss-cad-suite> yosys -V
Yosys 0.60+36 (git sha1 2833a4450-dirty, x86_64-w64-mingw32-g++ 13.2.1 -O3)

[OSS CAD Suite] C:\Tools\oss-cad-suite> nextpnr-ice40 --version
"nextpnr-ice40" -- Next Generation Place and Route (Version nextpnr-0.9-45-gf5374d6d)

[OSS CAD Suite] C:\Tools\oss-cad-suite> iceprog --help
Simple programming tool for FTDI-based Lattice iCE programmers.
Usage: iceprog [-b|-n|-c] \<input file\>
       iceprog -r|-R<bytes> <output file>
       iceprog -S <input file>
       iceprog -t

General options:
  -d <device string>    use the specified USB device [default: i:0x0403:0x6010 or i:0x0403:0x6014]
                          d:<devicenode>               (e.g. d:002/005)
                          i:<vendor>:<product>         (e.g. i:0x0403:0x6010)
                          i:<vendor>:<product>:<index> (e.g. i:0x0403:0x6010:0)
                          s:<vendor>:<product>:<serial-string>
  -I [ABCD]             connect to the specified interface on the FTDI chip
                          [default: A]
  -o <offset in bytes>  start address for read/write [default: 0]
                          (append 'k' to the argument for size in kilobytes,
                          or 'M' for size in megabytes)
  -s                    slow SPI (50 kHz instead of 6 MHz)
  -k                    keep flash in powered up state (i.e. skip power down command)
  -v                    verbose output
  -i [4,32,64]          select erase block size [default: 64k]

Mode of operation:
  [default]             write file contents to flash, then verify
  -X                    write file contents to flash only
  -r                    read first 256 kB from flash and write to file
  -R <size in bytes>    read the specified number of bytes from flash
                          (append 'k' to the argument for size in kilobytes,
                          or 'M' for size in megabytes)
  -c                    do not write flash, only verify (`check')
  -S                    perform SRAM programming
  -t                    just read the flash ID sequence
  -Q                    just set the flash QE=1 bit

Erase mode (only meaningful in default mode):
  [default]             erase aligned chunks of 64kB in write mode
                          This means that some data after the written data (or
                          even before when -o is used) may be erased as well.
  -b                    bulk erase entire flash before writing
  -e <size in bytes>    erase flash as if we were writing that number of bytes
  -n                    do not erase flash before writing
  -p                    disable write protection before erasing or writing
                          This can be useful if flash memory appears to be
                          bricked and won't respond to erasing or programming.

Miscellaneous options:
      --help            display this help and exit
      --                treat all remaining arguments as filenames

Exit status:
  0 on success,
  1 if a non-hardware error occurred (e.g., failure to read from or
    write to a file, or invoked with invalid options),
  2 if communication with the hardware failed (e.g., cannot find the
    iCE FTDI USB device),
  3 if verification of the data failed.

Notes for iCEstick (iCE40HX-1k devel board):
  An unmodified iCEstick can only be programmed via the serial flash.
  Direct programming of the SRAM is not supported. For direct SRAM
  programming the flash chip and one zero ohm resistor must be desoldered
  and the FT2232H SI pin must be connected to the iCE SPI_SI pin, as shown
  in this picture:
  https://github.com/yosyshq/icestorm/blob/master/docs/source/_static/images/icestick.jpg

Notes for the iCE40-HX8K Breakout Board:
  Make sure that the jumper settings on the board match the selected
  mode (SRAM or FLASH). See the iCE40-HX8K user manual for details.

If you have a bug report, please file an issue on github:
  https://github.com/YosysHQ/icestorm/issues
ハードウェアー
評価ボードに USBケーブルを接続すると,LED が点滅 (赤 → 緑 → 黄 &arr; 青 → シアン → ... ) します.
動作確認(Lチカ)
プログラム
Lチカで,動作の確認をします.動作を決める Verilog プログラムは top.v です.拡張子の v は Verilog を表します.ピンアサインは,top.pcf です.これにより,論理信号名と 物理ピン番号を対応付けます.拡張子の pcf は Physical Constraints File の略です.
Lチカのプログラム (top.v)
module top (
    output wire LED_B,
    output wire LED_R,
    output wire LED_G
);

    // -----------------------------
    // Internal 12 MHz oscillator
    // -----------------------------
    wire clk;

    SB_HFOSC #(
        .CLKHF_DIV("0b01")   // 12 MHz
    ) u_osc (
        .CLKHFEN(1'b1),
        .CLKHFPU(1'b1),
        .CLKHF(clk)
    );

    // -----------------------------
    // 1-second counter
    // 12 MHz -> 12,000,000 cycles
    // -----------------------------
    reg [23:0] cnt = 24'd0;   // 2^24 = 16,777,216 > 12,000,000
    reg led_state = 1'b0;     // 0 = ON (active low)

    always @(posedge clk) begin
        if (cnt == 24'd11_999_999) begin
            cnt <= 24'd0;
            led_state <= ~led_state;  // toggle every 1 second
        end else begin
            cnt <= cnt + 1'b1;
        end
    end

    // -----------------------------
    // RGB LED (active low)
    // -----------------------------
    assign LED_R = 1'b1;                    // 消灯
    assign LED_G = led_state ? 1'b1 : 1'b0; // 緑だけ点滅
    assign LED_B = 1'b1;                    // 消灯

endmodule
Lチカのピンアサイン (top.pcf)
set_io LED_B 39
set_io LED_R 40
set_io LED_G 41
ビルド・アップロード
先のプログラムをビルドとアップロードするバッチファイルは,以下のとおりです.
ビルドを実行するバッチファイル (build.bat)
@echo off
set TOP=top
set DEVICE=up5k
set PACKAGE=sg48

echo Yosys (synthesis)
yosys -p "read_verilog %TOP%.v; synth_ice40 -top top -json %TOP%.json" || goto :error

echo === nextpnr (place & route) ===
nextpnr-ice40 ^
  --%DEVICE% ^
  --package %PACKAGE% ^
  --json %TOP%.json ^
  --pcf %TOP%.pcf ^
  --asc %TOP%.asc || goto :error

echo === icepack (bitstream) ===
icepack %TOP%.asc %TOP%.bin || goto :error

echo.
echo BUILD SUCCESS
echo Output: %TOP%.bin
goto :eof

:error
echo.
echo BUILD FAILED
exit /b 1
アップロードするバッチファイル (flash.bat)
@echo off
set TOP=top

echo === PROGRAM (iCESugar iCELink / icesprog) ===
icesprog -e -w %TOP%.bin > program.log 2>&1

type program.log

REM エラー文字列が含まれていたら失敗扱いにする
findstr /i "error failed abort" program.log >nul
if %errorlevel%==0 (
  echo.
  echo PROGRAM FAILED (see program.log)
  exit /b 1
)

echo.
echo === PROGRAM SUCCESS ===
exit /b 0
ページ作成情報
参考資料
更新履歴
| 2025年12月13日 | ページの新規作成 |